This page is a little too advanced for my toddler, but I intentionally made it that way because I wanted to have a few pages that would be good for an older child. Time flies. My current baby will be a toddler and my current toddler will be a preschooler before I know it. When I was making all the quiet book pages I thought it would be a good idea to make some more advanced ones so my oldest can still play with the quiet book even when most of the pages are geared for a younger age I planned this book with the idea that the kids will be sharing it someday. That is one of the reason I made the pages easy to take out. I have visions of taking pages out and giving each child a page so it’s easy to keep them equally occupied without having to share a single page. Time will tell how this actually plays out…
Even though it’s geared for an older kid, I decided to make it with basic shapes and primary colors so there were familiar things for a littler one to enjoy.
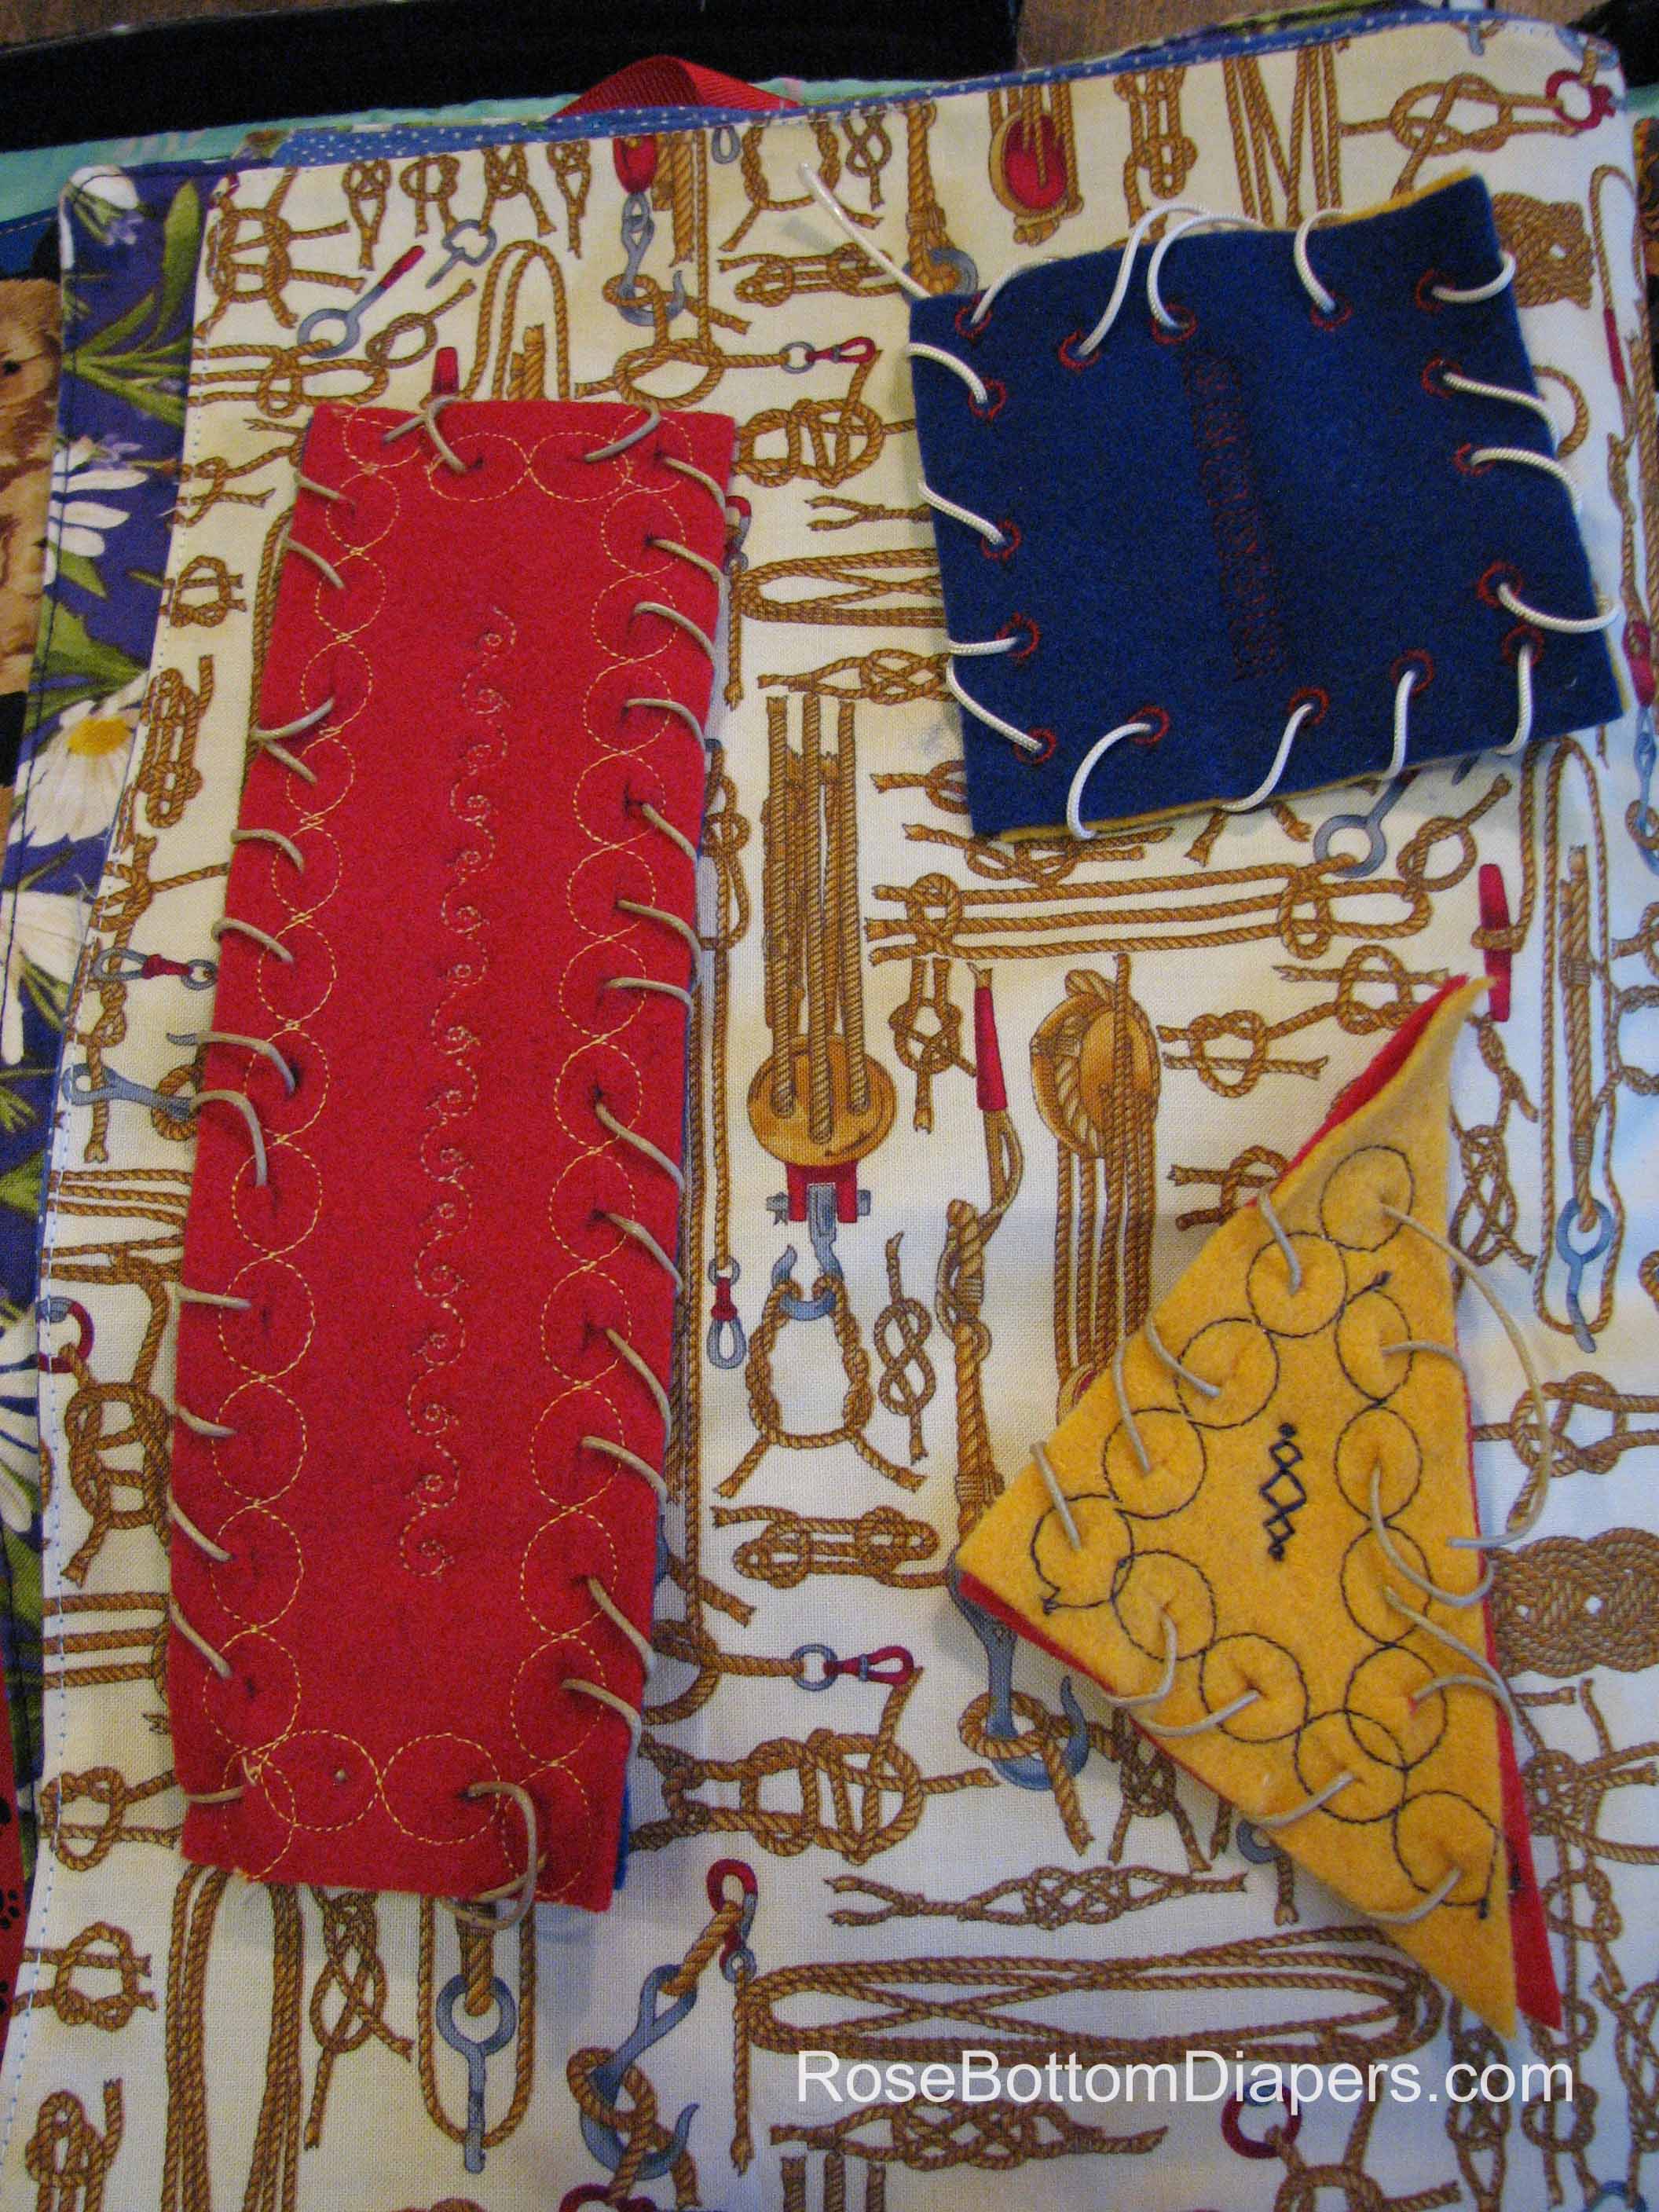
Small holes were used for one of the shapes to make a harder challenge. (I would imagine you could make bigger holes and use a bigger “thread” to make it easier for a littler one if desired.) It was my first time using the sewing machine to make eyelets. I’m glad I experimented with it, but I probably wouldn’t do it this way again. I hadn’t made enough to get used to how the machine creates these and as a result my spacing is not very consistent. It also took longer than I imagined it would to do it this way.
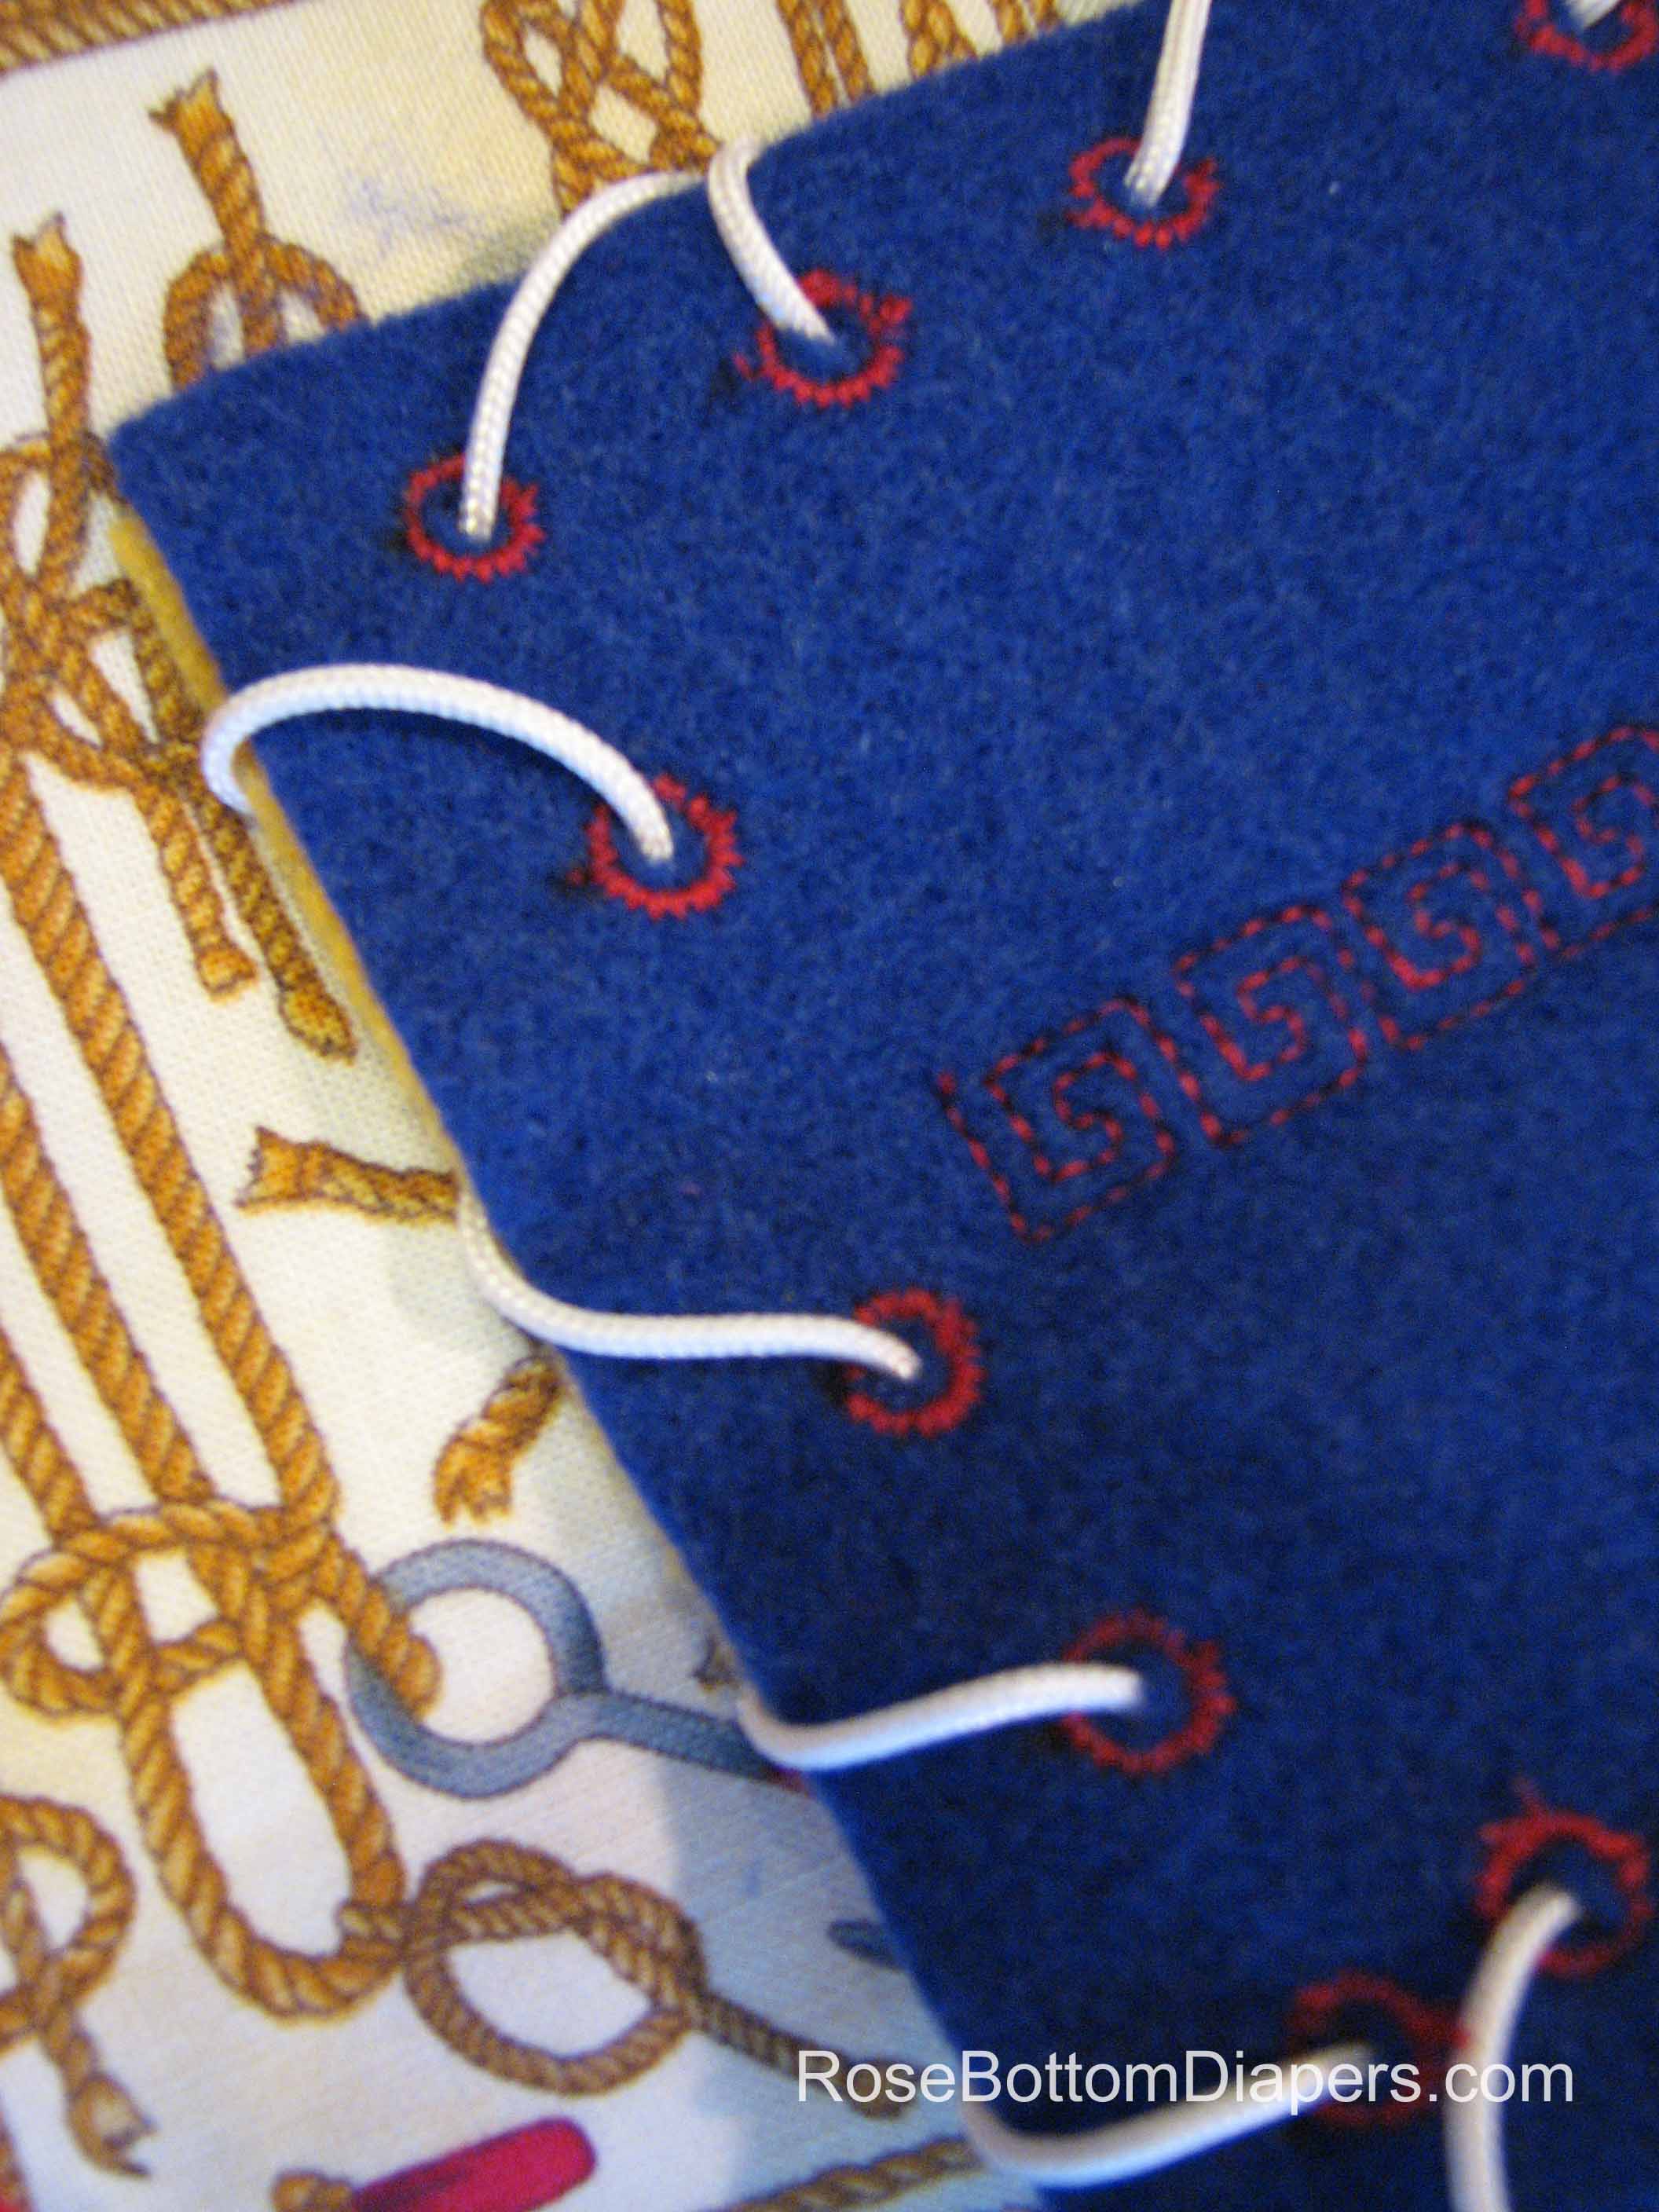
The stitch I used to outline these holes is actually a scallop stitch. After sewing scallops all the way down one side I just reversed it to sew a mirror image and create the other half of each circle. I cut a + shape into the middle of each circle for the “thread” to go through. (I may end up cutting fabric out of the inside of the circles on one of the shapes to make it easier.)
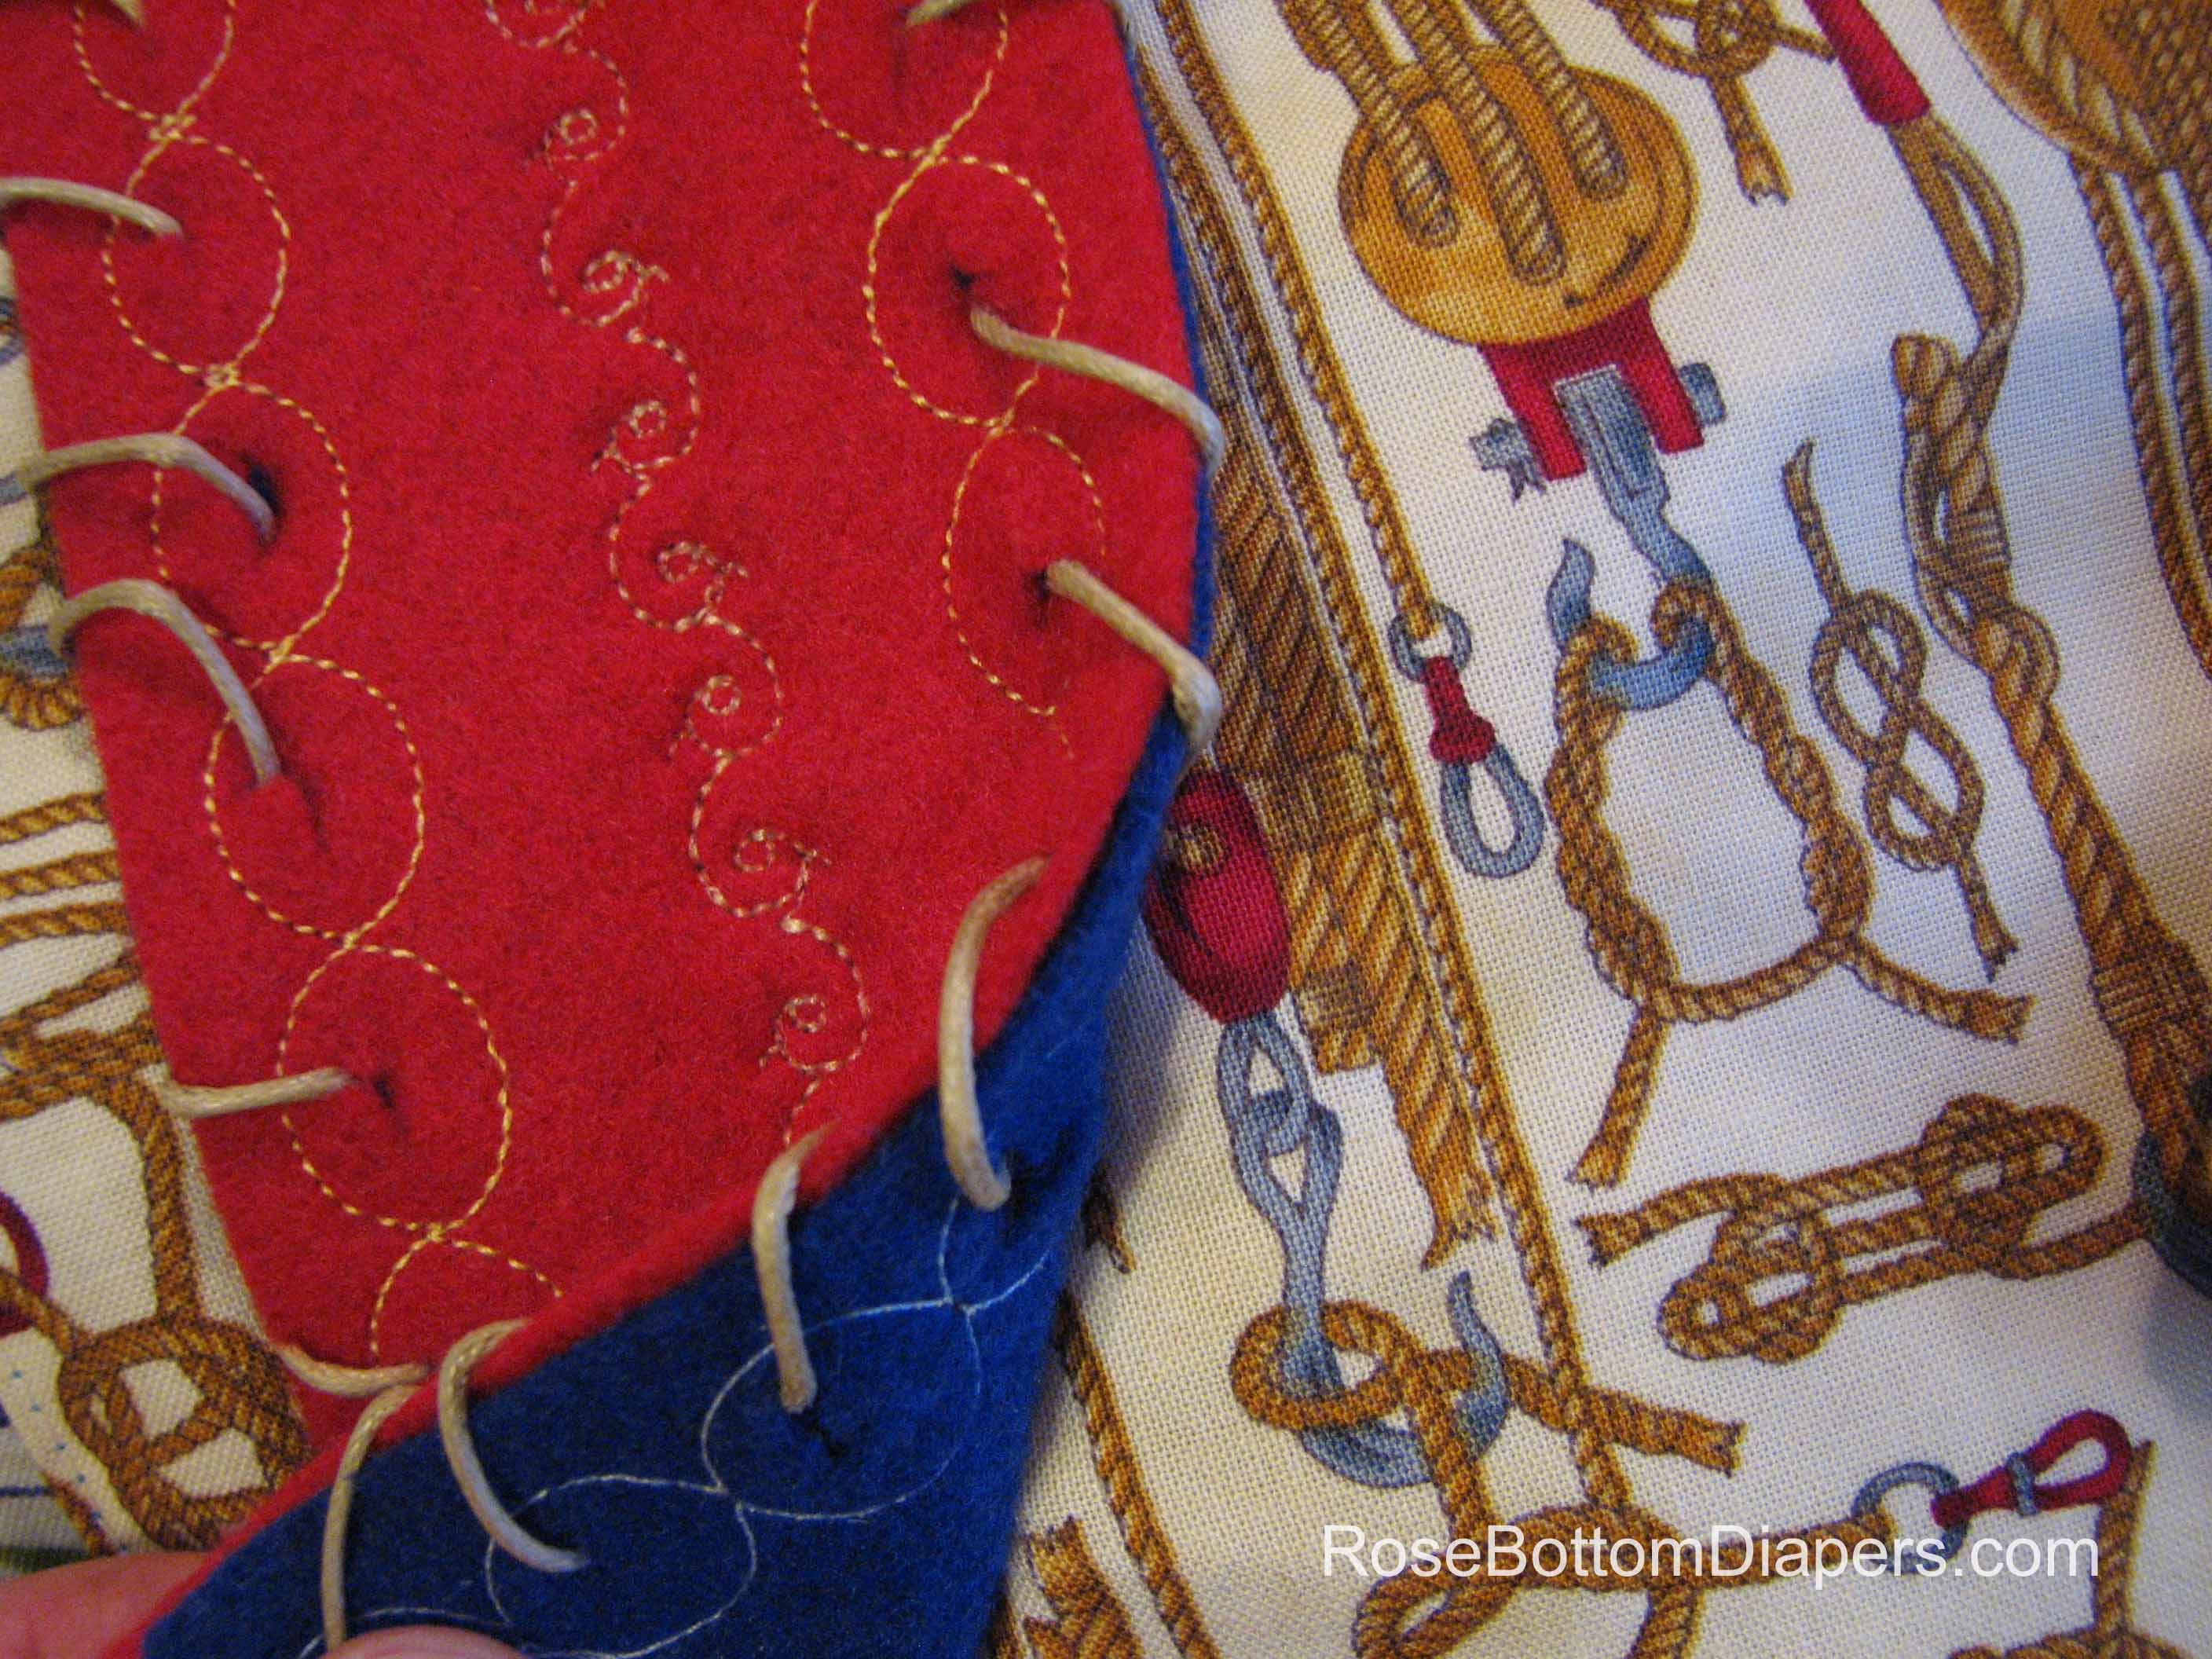 Each shape is double layered and tacked into place down the center. The end of the thick “thread” is attached by this center seam. Make sure the “thread” you choose for the child to sew with is firm at the sewing end so it can be pushed through the holes easily. (My initial idea was to use a shoelace for this, but my goal was to use scrap materials and I had no shoelaces.) Since each set of 2 shapes is only tacked down in the center, if the child’s “thread” is pulled out then the shapes will separate around the edges. This way the child is truly attaching the two pieces of fabric when he or she “sews” the shapes together.
